1. Prepare
Preheat oven to 180°C (160°C fan bake).
Lay out four large baking trays and line with baking paper.
If working with a single oven, you’ll bake in batches.
Place the butter and golden syrup in a saucepan over low heat to melt gently.
At the same time, boil the kettle for the baking soda.
2. Mix dry ingredients
In a medium bowl, combine:
flour, sugar, oats and coconut.
3. Finish the mixture
Dissolve the baking soda in the hot water, then stir it into the melted butter mixture — it will foam slightly.
Pour this into the dry ingredients and mix until fully combined.
If the the mixture feels a little wet, place in the fridge for 15 minutes to firm slightly.
This makes it easier to portion and helps control the spread.
4. Shape
Lightly oil or spray a round tablespoon measure.
Scoop the mixture, levelling it off so each biscuit is even.
Roll into balls and place on the trays.
Only place 6 per tray, spaced well apart.
These will spread.
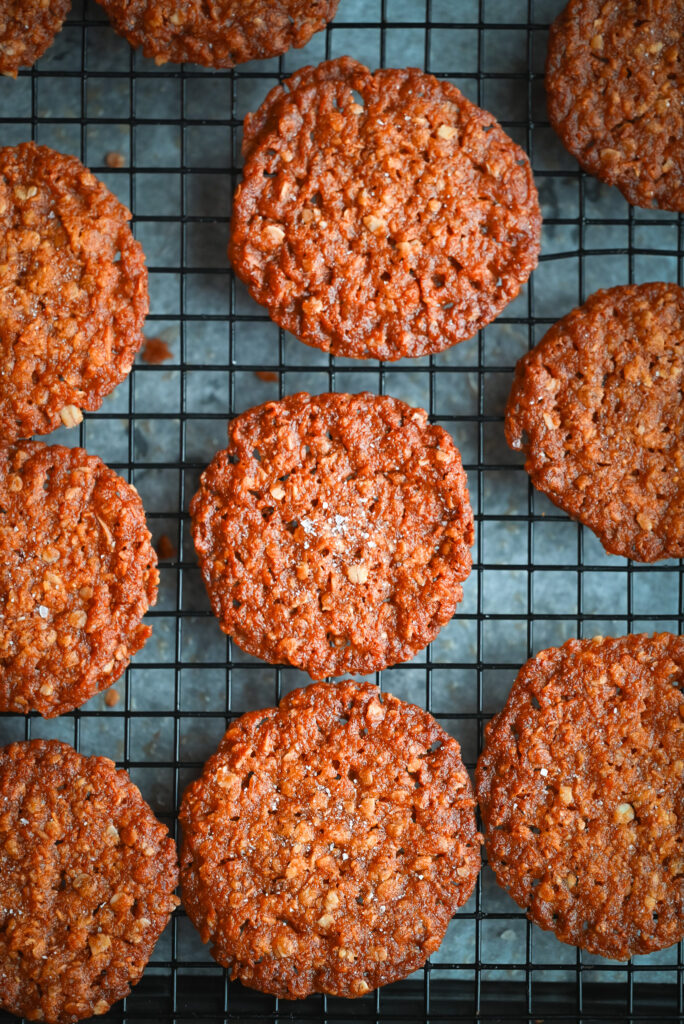
5. Bake
Bake two trays at a time for 10 minutes, rotating the trays after 5 minutes.
At 10 minutes, check the colour carefully.
The biscuits should be deep golden and evenly caramelised across the surface.
If not ready, return to the oven and check at 1-minute intervals until fully coloured.
As soon as they come out of the oven, lightly scatter with flaky salt, if using.
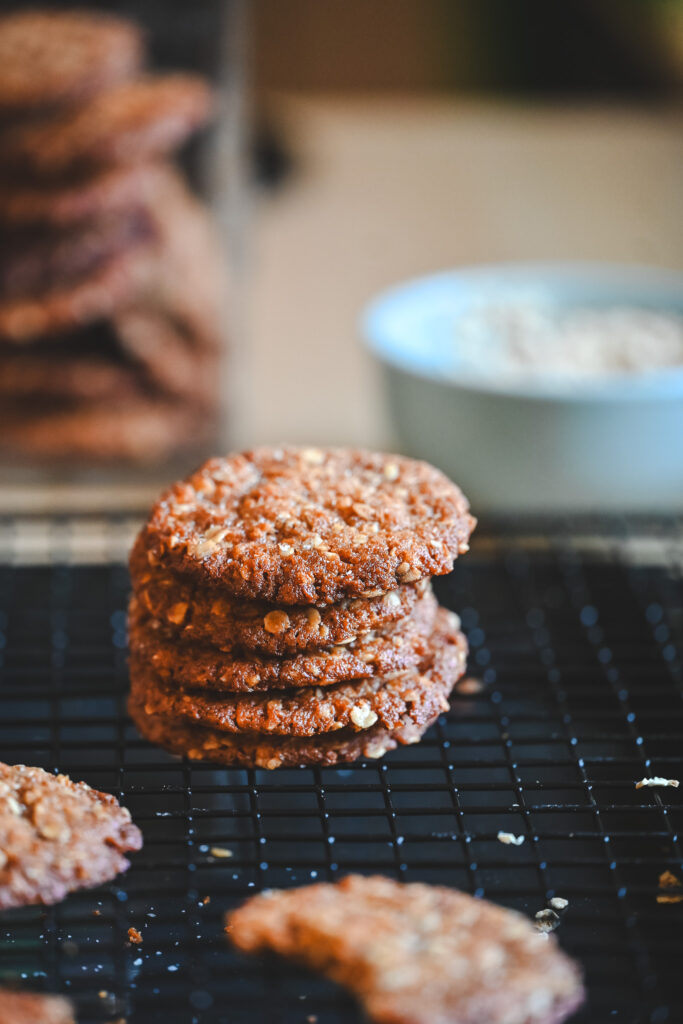
6. Shape while warm
Working quickly, use a large round cutter (slightly bigger than the biscuits) to gently nudge each one into a neat circle.
They will only be pliable for 1–2 minutes, so do this immediately.
7. Cool
Transfer to a wire rack and leave to cool completely.
This is when they set and develop their crisp texture.
8. Repeat
Continue baking in batches until all the mixture is used.